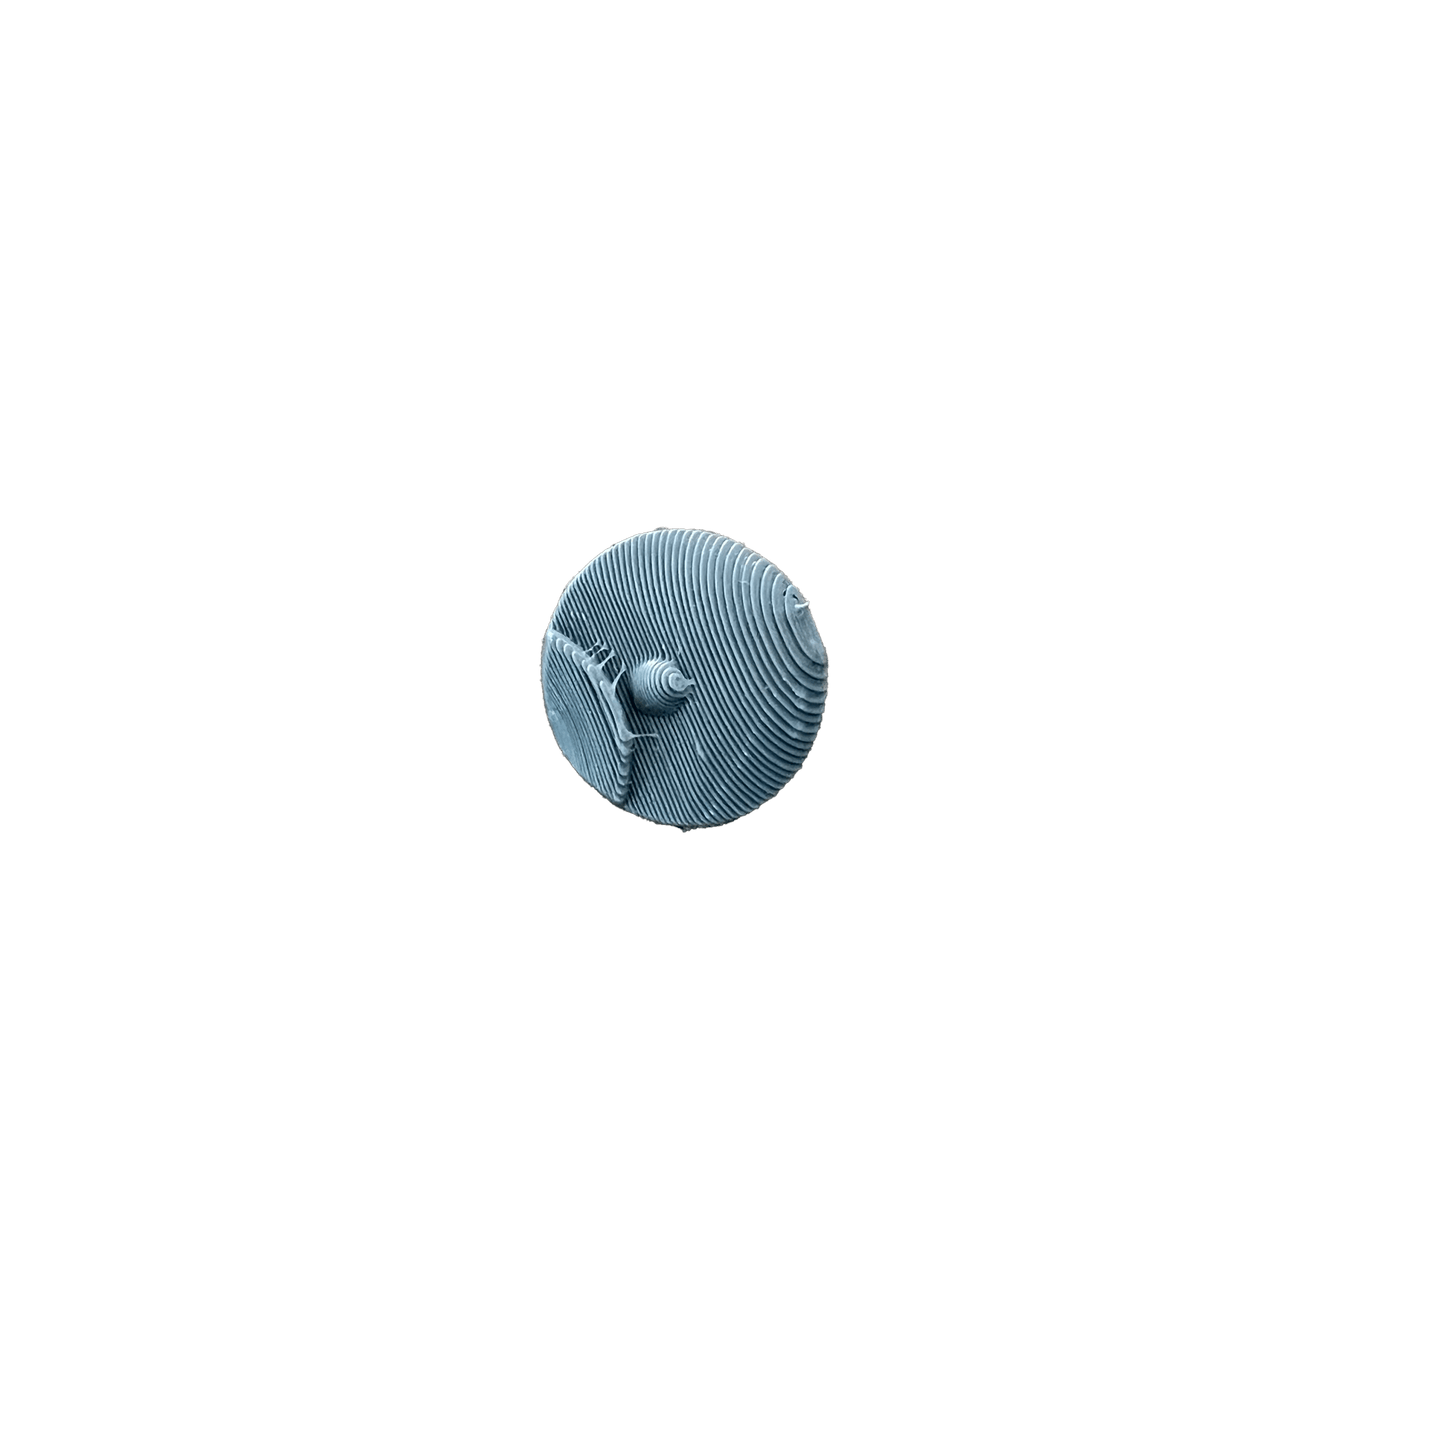
Tantalus Flight Stand With Converter and Anchor
SKU:MBFSATTL
These items ship separately from the Magnet Baron store and may incur a combinable shipping charge.
Couldn't load pickup availability
Share
Details
The Tantalus is one of those models that was just not designed to actually be used on the table.
The flight stand and base in the photo on the website doesn’t even come in the box anymore.
Here we have a flight stand kit with a specially designed adapter to let you put this model on the table for the first time on a flight stand.
It even comes with magnets for the sail and rudder to make transport a breeze.
Contents
- 1x Large Flat Flight Stand
- 4x 1/2” x 1/8” Disc Magnets
- 1x Tantalus Adapter
- 1x Large Flat Rock Anchor
- 170mm Base
- 2x Sail Magnets
- 4x Rutter Magnets
This includes EVERYTHING you need under the ship, so you don't have to go shopping around!
Instructions
1. Glue the large magnet underneath the base into the hole. This will hold down the magnet for the flight stand on top. Allow this to dry completely so you don't glue the base to your work surface.
2. Glue the Rock Anchor to the base, dry fit to determine where you would like the model to sit. The flight stand will go right between the duel hulls when we are finished.
3. Glue 1st of the 4 12mm x 3mm disc magnets inside of the Rock Anchor.
4. Glue the 2nd 12mm x 3mm disc magnet on the acrylic stem, ensure that the magnet attracts the magnet in the anchor.
5. Glue the 3rd 12mm x 3mm disc magnet onto the other side of the acrylic also ensuring it attracts the magnet in the Rock Anchor. This way you don't need to figure out which end is up or down as they are the exact same.
6. Glue the 4th 12mm x 3mm disc magnet into the Tantalus Flight Stand Convertor, this time ensuring it attracts the magnets on the acrylic rod.
7. Glue the Tantalus Flight Stand Convertor the Tantalus itself. It will align with the old flight stand hole between the duel hulls. There is a nub to match up to the old flight stand hole and a ridge that will show from the top of the model. The magnet should be facing downward.
8. Use the a 3mm drill bit to drill into the sail where it connects to the model. You will be drilling in the 3mm cylinder magnet partially to ensure it doesn't come out. Make sure it sticks mostly out of the sail.
9. Glue the cylinder magnet into the shallow hole in the sail.
10. Drill into the Tantalus hull where the connection point for the sail is approximately the distance left of the other magnet sticking out of the sail plus one more of the thinner magnets.
11. Glue one of the small thin (3mm x 2mm) magnets into the hole set in. You have now created a recessed magnetic joint for the sail so you can transport it without snapping it off and shortening the model enough to transport in most model carrying cases.
Magnetizing the rudder with the last 4 magnets.
12. Use the 3mm drill to drill into the rudder and hole at the 2 connection points. You are trying to get the disc magnets flush to the part, so it fits and hides nicely.
This allows you to take off the rudder, which is another major break point during transportation.


